This article takes a look at the signer experience in Xodo Sign (formerly eversign) or, more exactly, what the signer receives when you send them a contract through Xodo Sign and the ways in which they can sign.
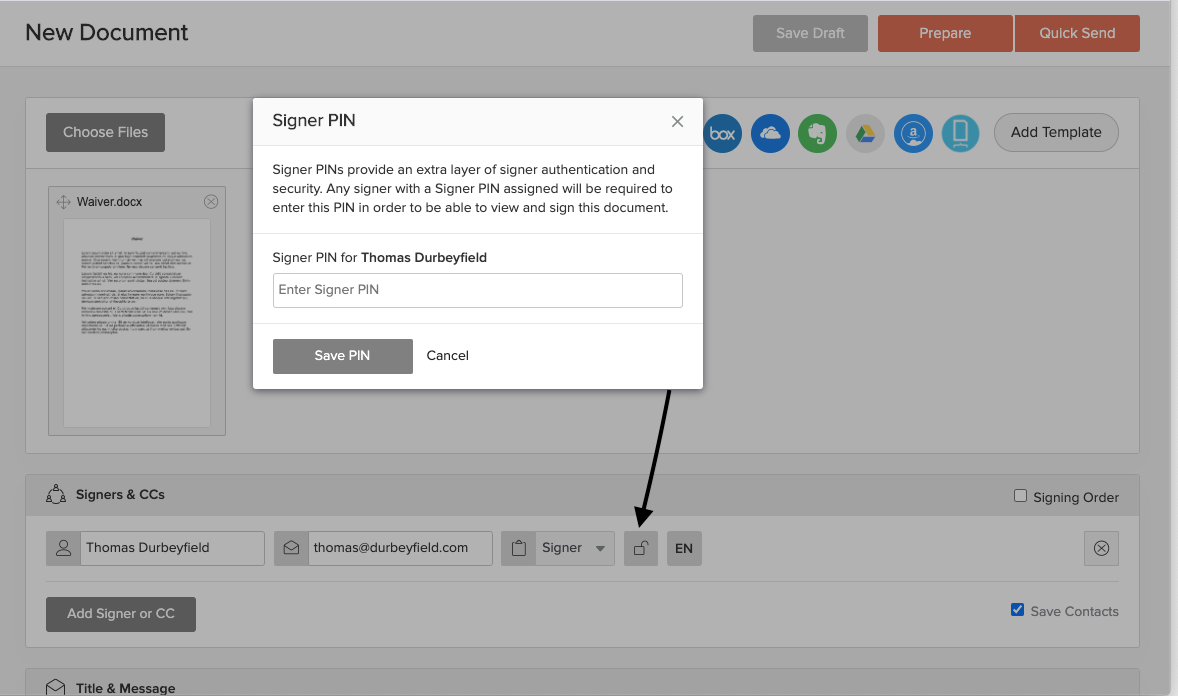
First of all, when you send the contract through Xodo Sign, you can add another level of security by choosing a PIN for each signer, which they will have to enter in order to access the document. You can send the PIN via text message, communicate it on the phone or by any other means, but avoid sending it to the same email address as the one where you sent the contract. This way you can make sure that the person signing the contract is the intended signer.
Below you can see where the option to add a signer PIN is.
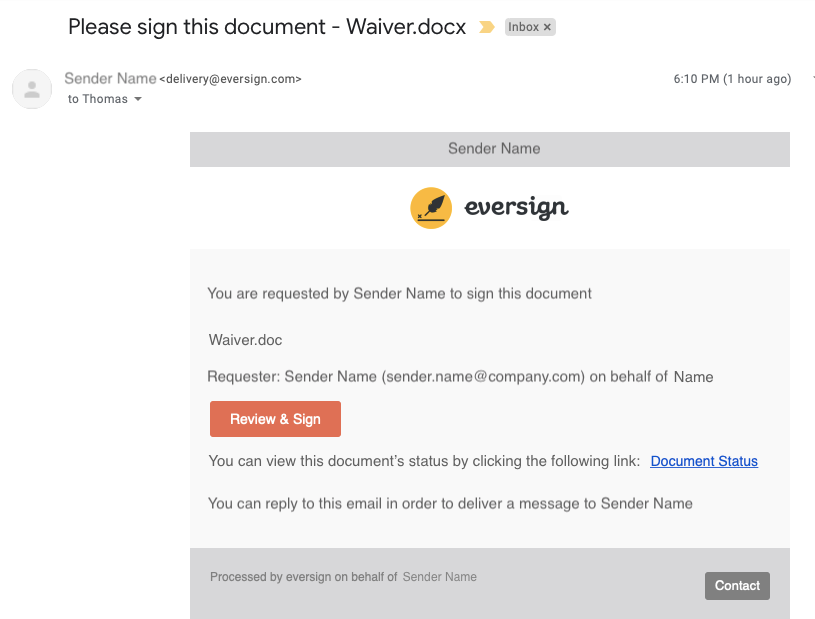
When you send a contract to be signed, your business partner receives an email from Xodo Sign with your name as the sender and the subject line "Please sign this document - " followed by the name you gave to the document.
When they open the email, they will see an automated message from Xodo Sign, containing your name, email address and the name of the document (see image below), as well as your personal message if you have included one. Clicking on the "Review and Sign" button will lead them to the document.
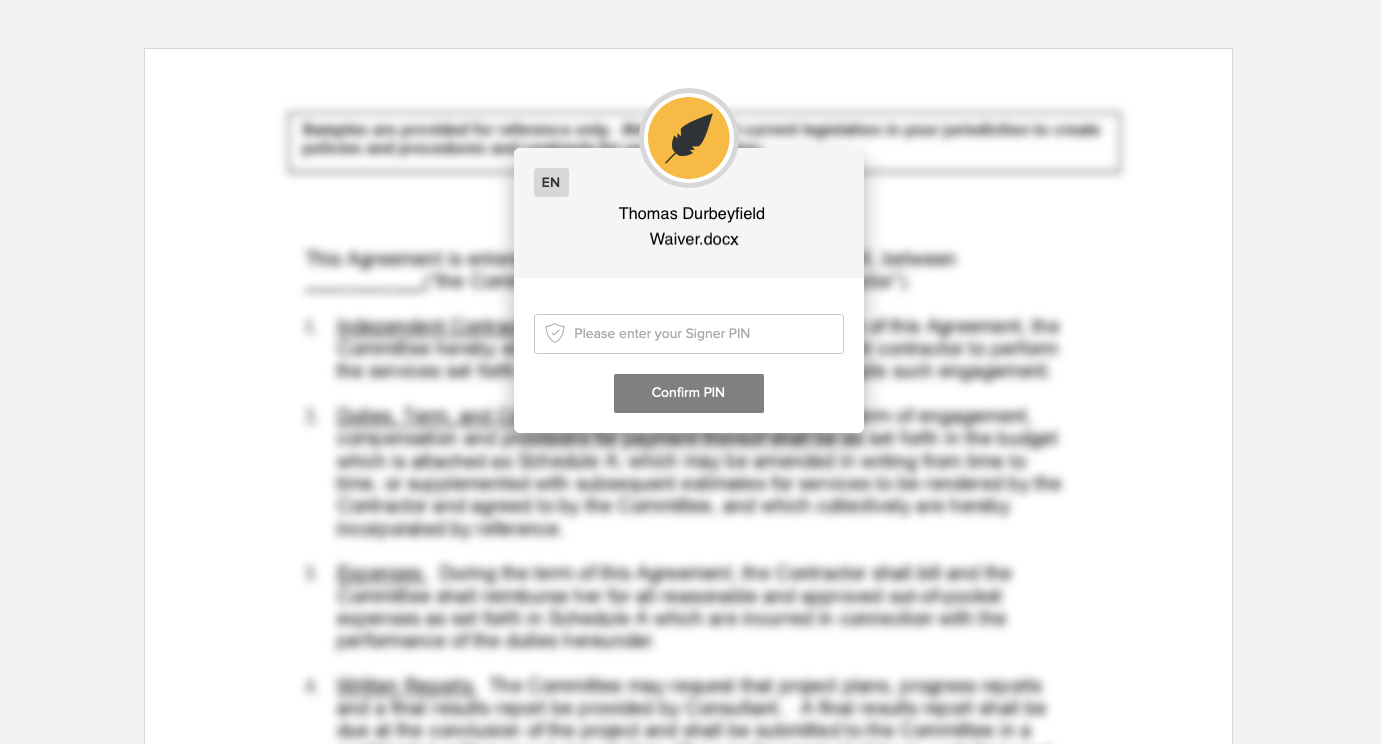
If you included a signer PIN, the signer will need to introduce it in a pop-up window like in the image below to be able to see the document.
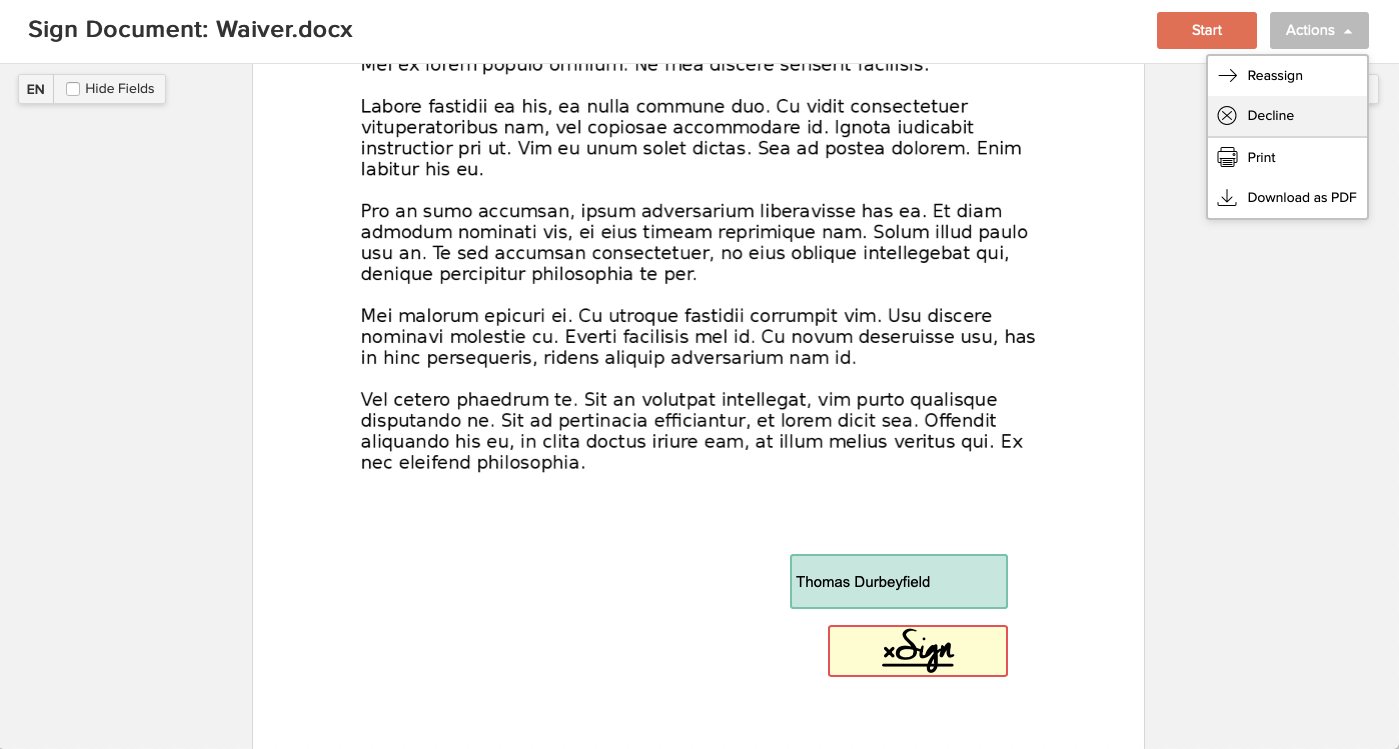
At the next step, the signer will be able to review the document. If they do not wish to sign it, they can decline by clicking on the "Actions" button in the upper right corner. This will open a drop-down menu (see image below) which contains the option to decline, as well as other options, such as reassigning, printing or downloading the document.
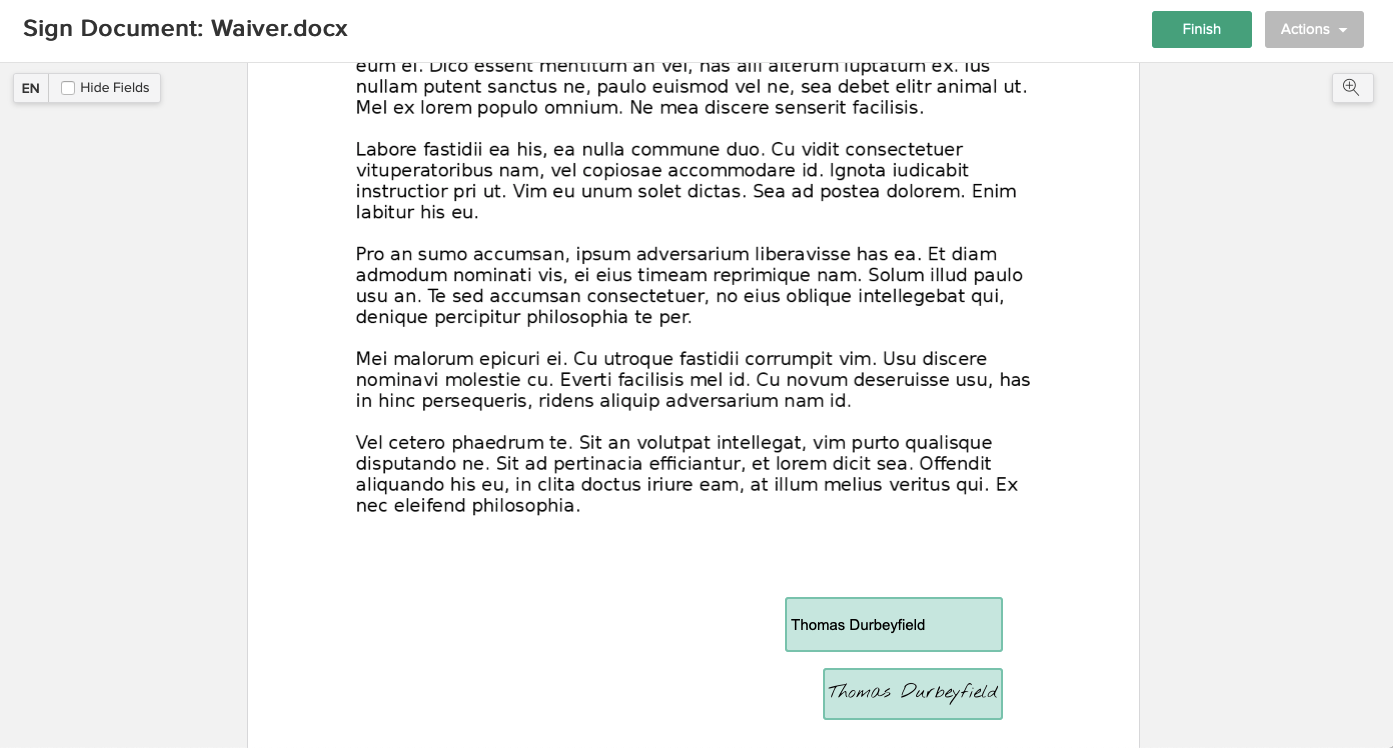
After reviewing the document, the signer can click on the "Start" button, which will lead them to the signing box that you have placed inside the document (alternatively, they can go directly to the signing box). They must now click inside the signing box and a pop-up window containing the signing options will appear.
The signer has three possibilities of signing the document:
- by typing their name in the pop-up window (see image below)
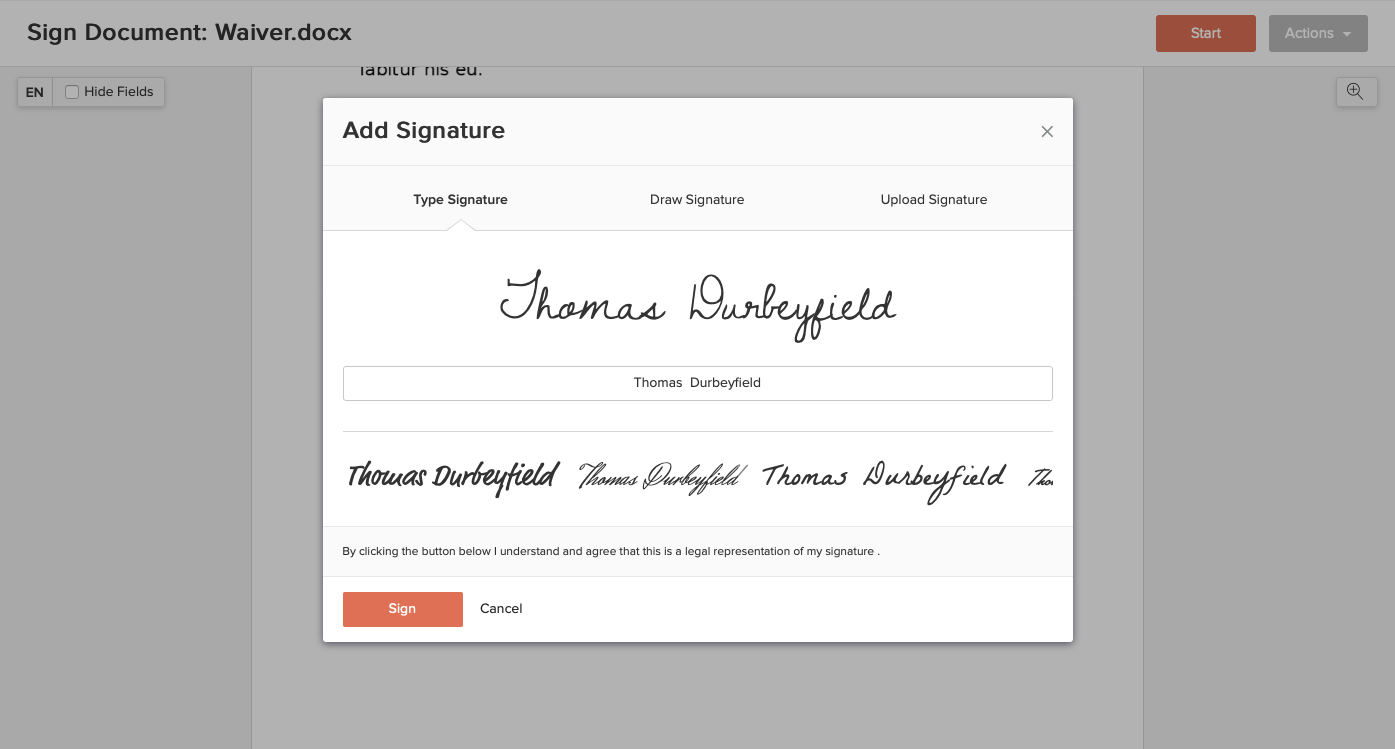
- by drawing their signature with the mouse, finger or tablet pen, depending on the device they are using

- by uploading a photo of their signature

All options are equally binding and enforceable in court.
After signing, the signer must click on the "Sign" button (see image above). They are advised by a note above the button that by clicking on it they understand and agree that this is a legal representation of their signature.
After clicking on the "Sign" button, they can see the now signed document and then click on "Finish" in the upper right corner.
After clicking on the "Finish" button, a pop-up window appears, where the signer must agree to be legally bound by the signed document and the Xodo Sign terms and conditions.
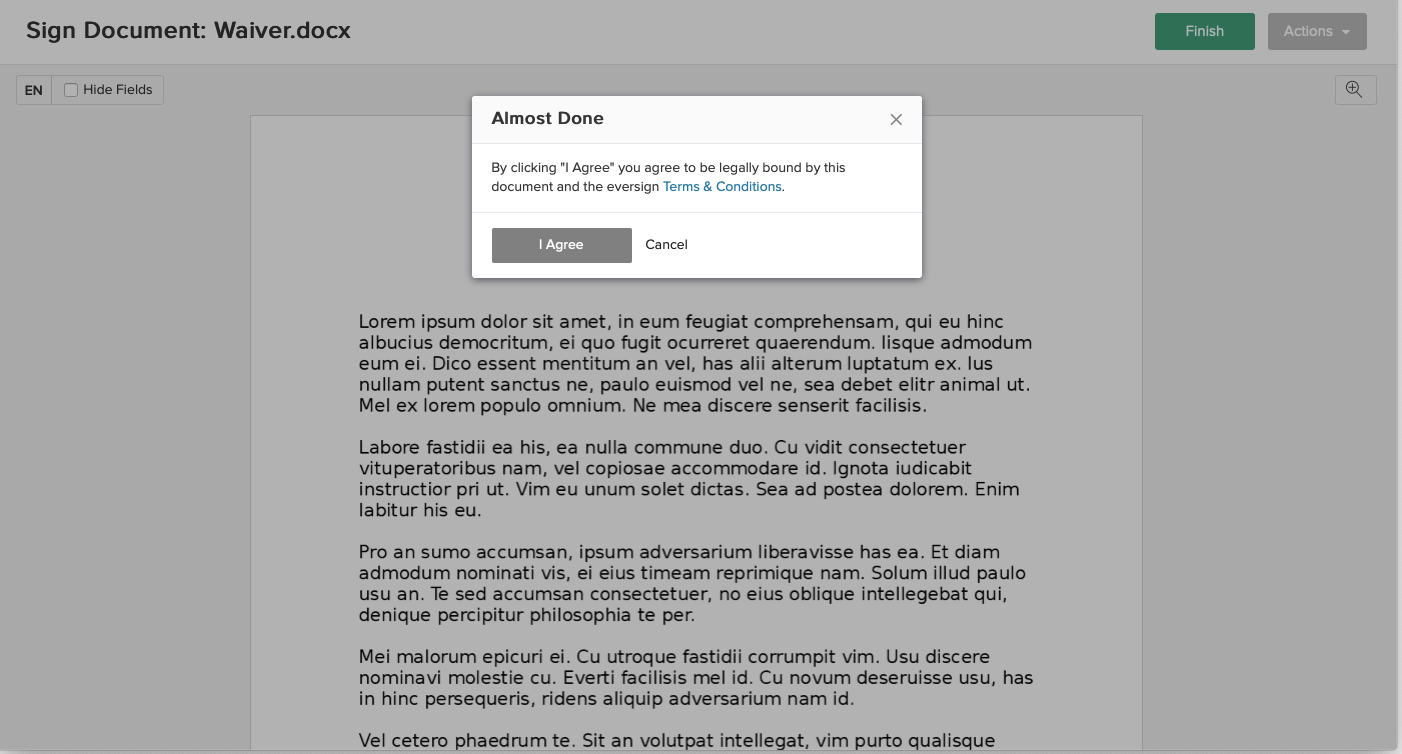
After the signer confirms, the document is completed and you will receive an email notification that they have signed the document.
If you haven't started using Xodo Sign for having your documents signed yet, you can sign up here for a free account.