This step-by-step guide shows you how to create templates in Xodo Sign in order to streamline sending documents for signature and save time.
Why do I need templates?
If you send the same documents or very similar ones over and over again to different people (such as waivers or non-disclosure agreements), you can save time by creating templates for these documents.
A template is a pre-prepared document containing generic information that you frequently send to different people for signature. The template is saved in your account and whenever you want to send a new document of this type, you can open the template and send it in just a few clicks, instead of creating a new document from scratch.
Let's say you are a film producer's assistant, who sends non-disclosure agreements to all people visiting the set of a movie, such as caterers or extras, stipulating that they will not disclose any information about the movie plot. The text of the agreement is the same for everybody, so instead of writing a new agreement each time you want to send one for signing, you can create and save a template containing the text of the agreement and put placeholders for the names of the signers, signature date, contact details, or any other personalized data. When you need to send one, you open the template, choose the recipient and Xodo Sign will automatically add the relevant data from your contact list. This saves you a lot of time compared to writing a new document from scratch.
How Do I Create A Template?
Creating a template is very easy, here's how to do it:
- First, write your document in your word editor of choice, leaving blank spaces for any personalized information that will be added later for each signer, such as name, date, etc.

- Save your document, preferably as a PDF file.
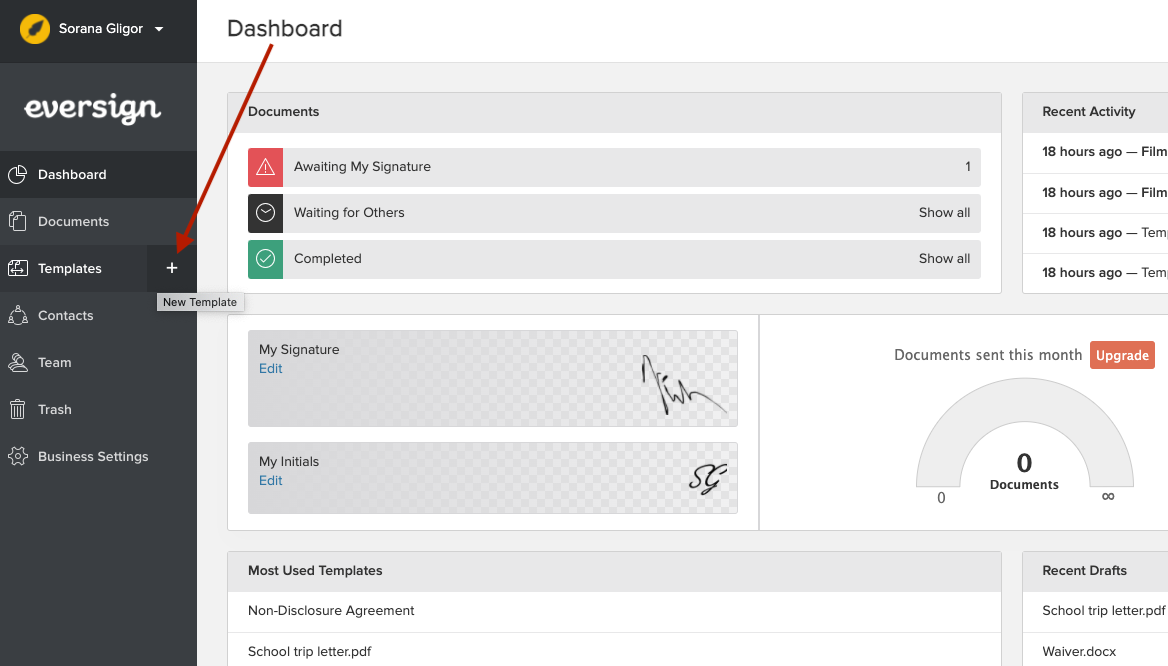
- From your Xodo Sign dashboard, go to Templates in the lefthand menu and click on the + sign next to it, in order to open a new template (the + sign appears when you hover over Templates)
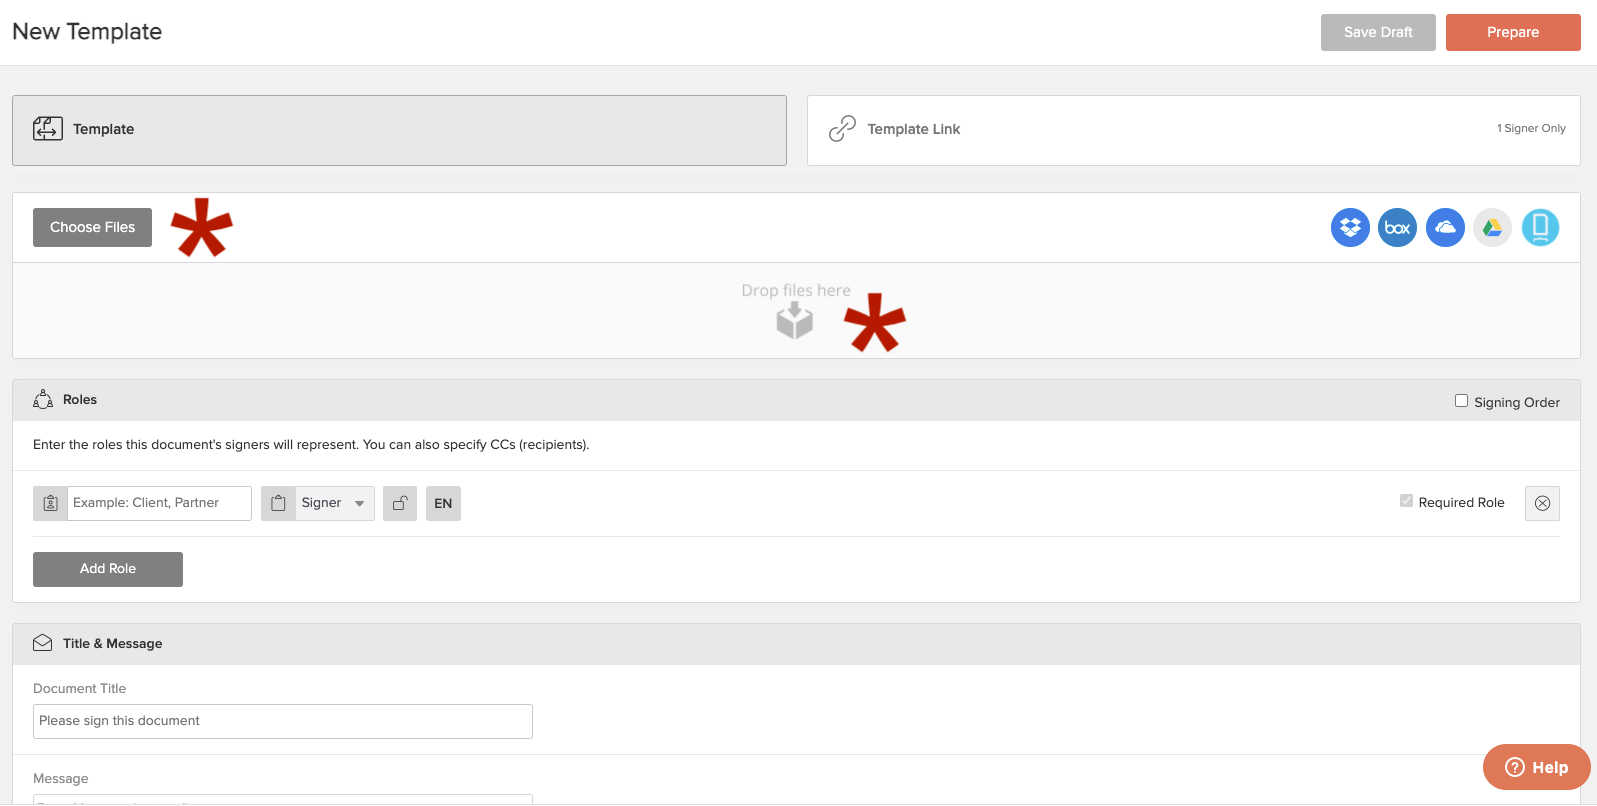
- This will lead you to a New Template screen where you can upload your document by using the Choose Files button or dropping the file in the Drop Files Here area.
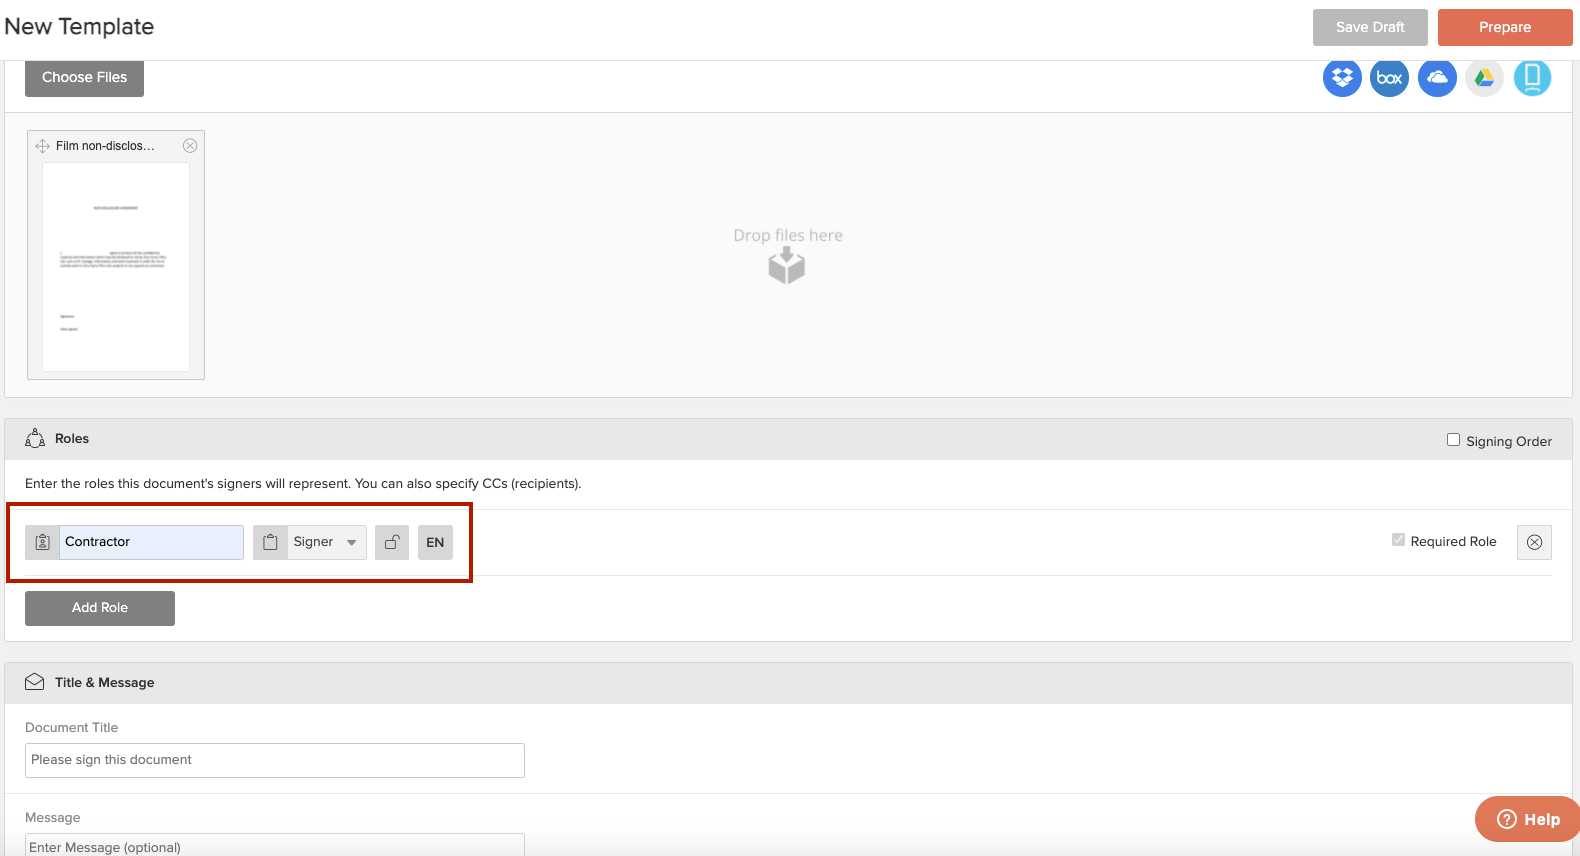
- Next, choose the role of your signer. In our example of the film non-disclosure agreement, the signer will be a contractor, so you can write Contractor in the role box.
- It's time to prepare the document for your electronic signature. Click on the orange Prepare button in the upper right corner
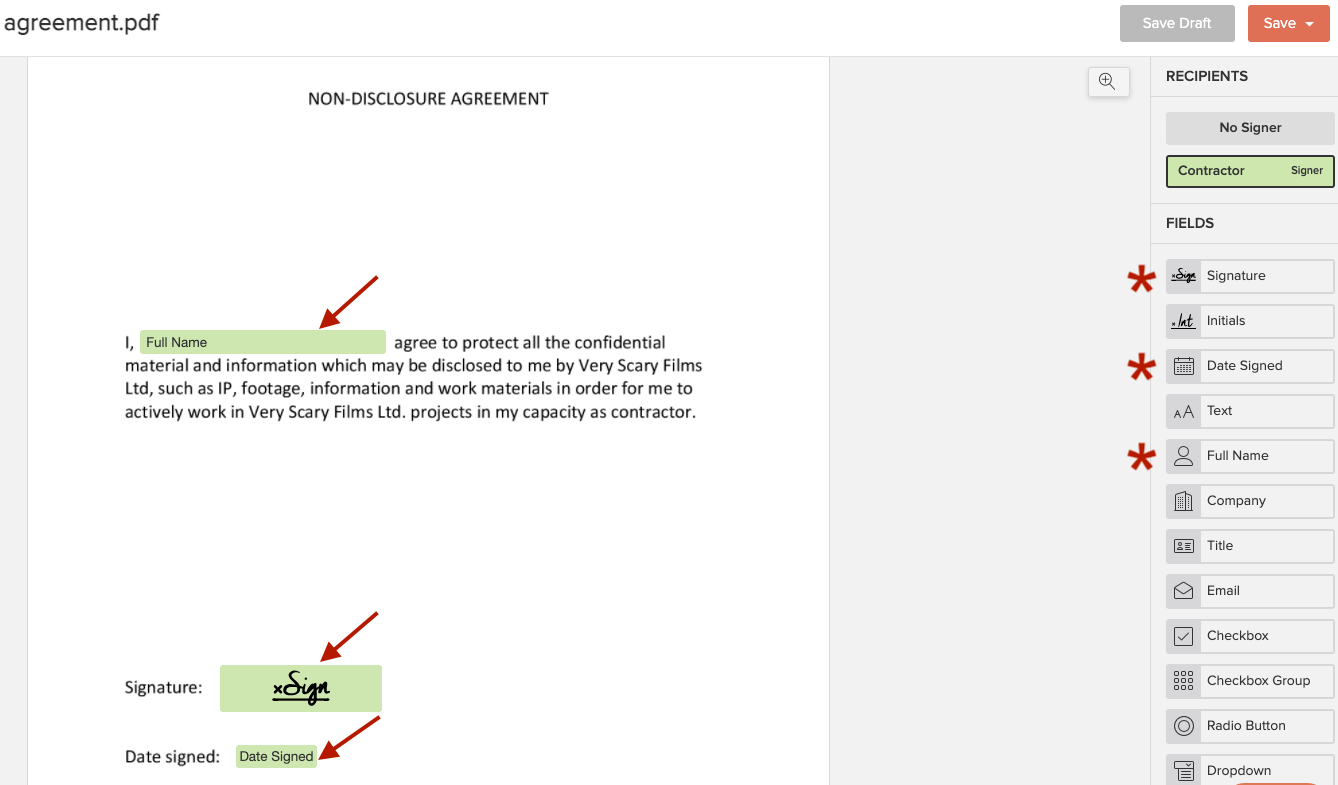
- Now you're in the document-editing screen. Drag from the righthand menu any text box you need and place them wherever you wish in the document.
In our example, we placed the Full Name box in the blank space we had left, as well as the Signature box and the Date Signed box. Xodo Sign will automatically fill in the Full Name box when you use the template and choose the recipient. The Date Signed will also be automatically filled in when the recipient signs the document.
- You just need to save the template now (the orange button in the upper righthand corner) and you're done.
How To Use a Template
Let's say you want to send a film non-disclosure agreement to a new contractor. First, find the template in the Templates menu, then click the Use Template box on its right side.

In the next screen, choose the recipient of the document. Let's say we want to send the agreement to Sam Rogers, so we enter his name and email address in the signer category like in the screenshot below.
You can also write a personalized message (optional).
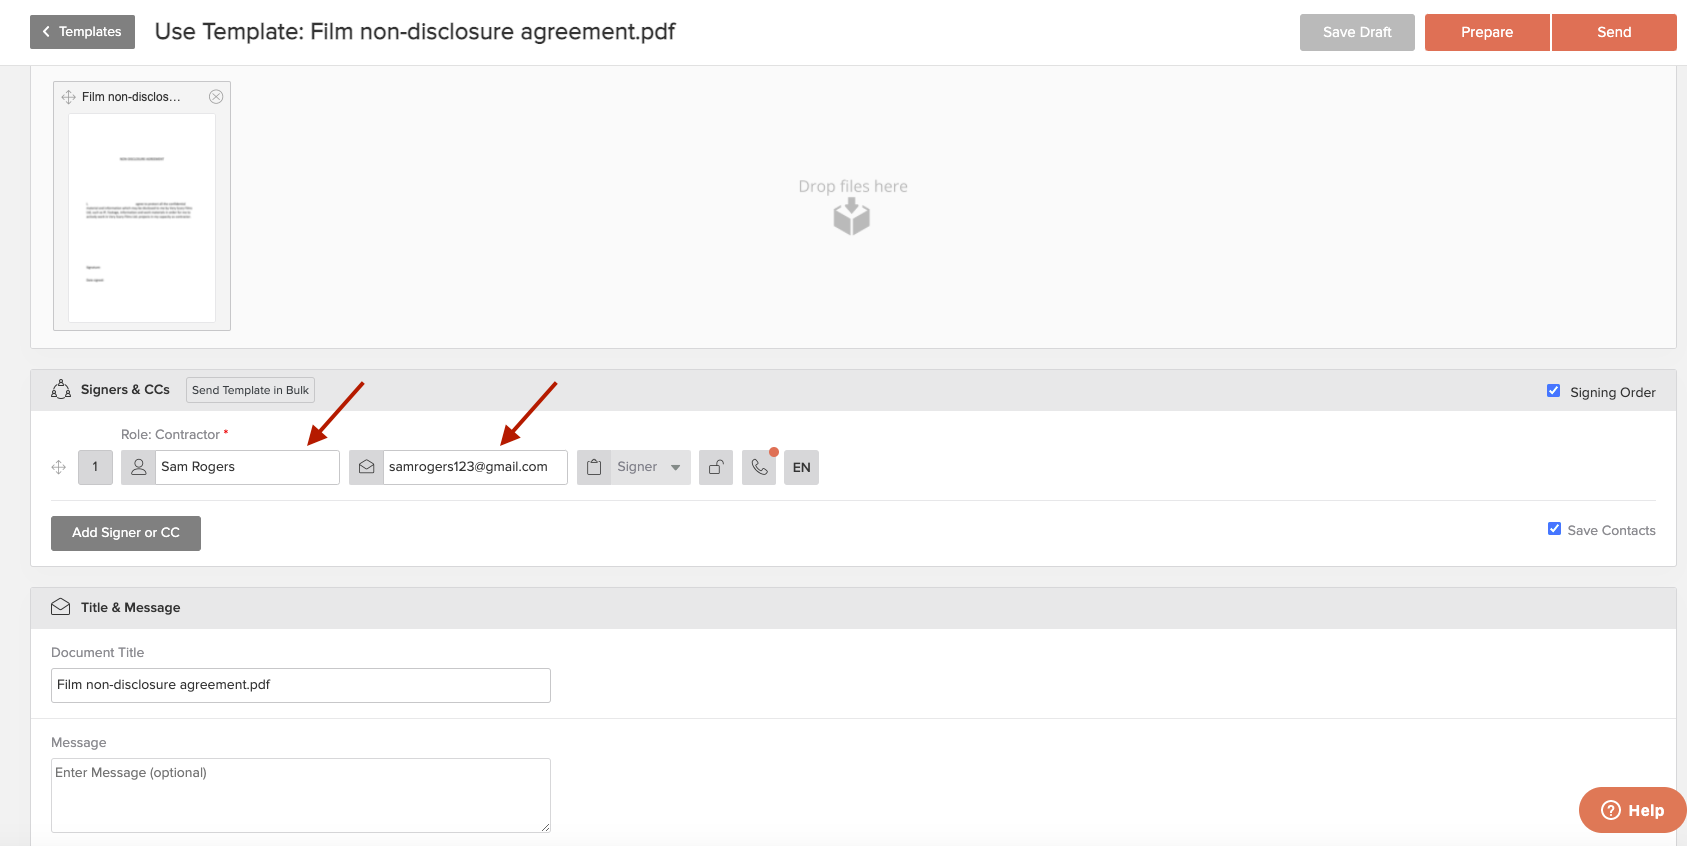
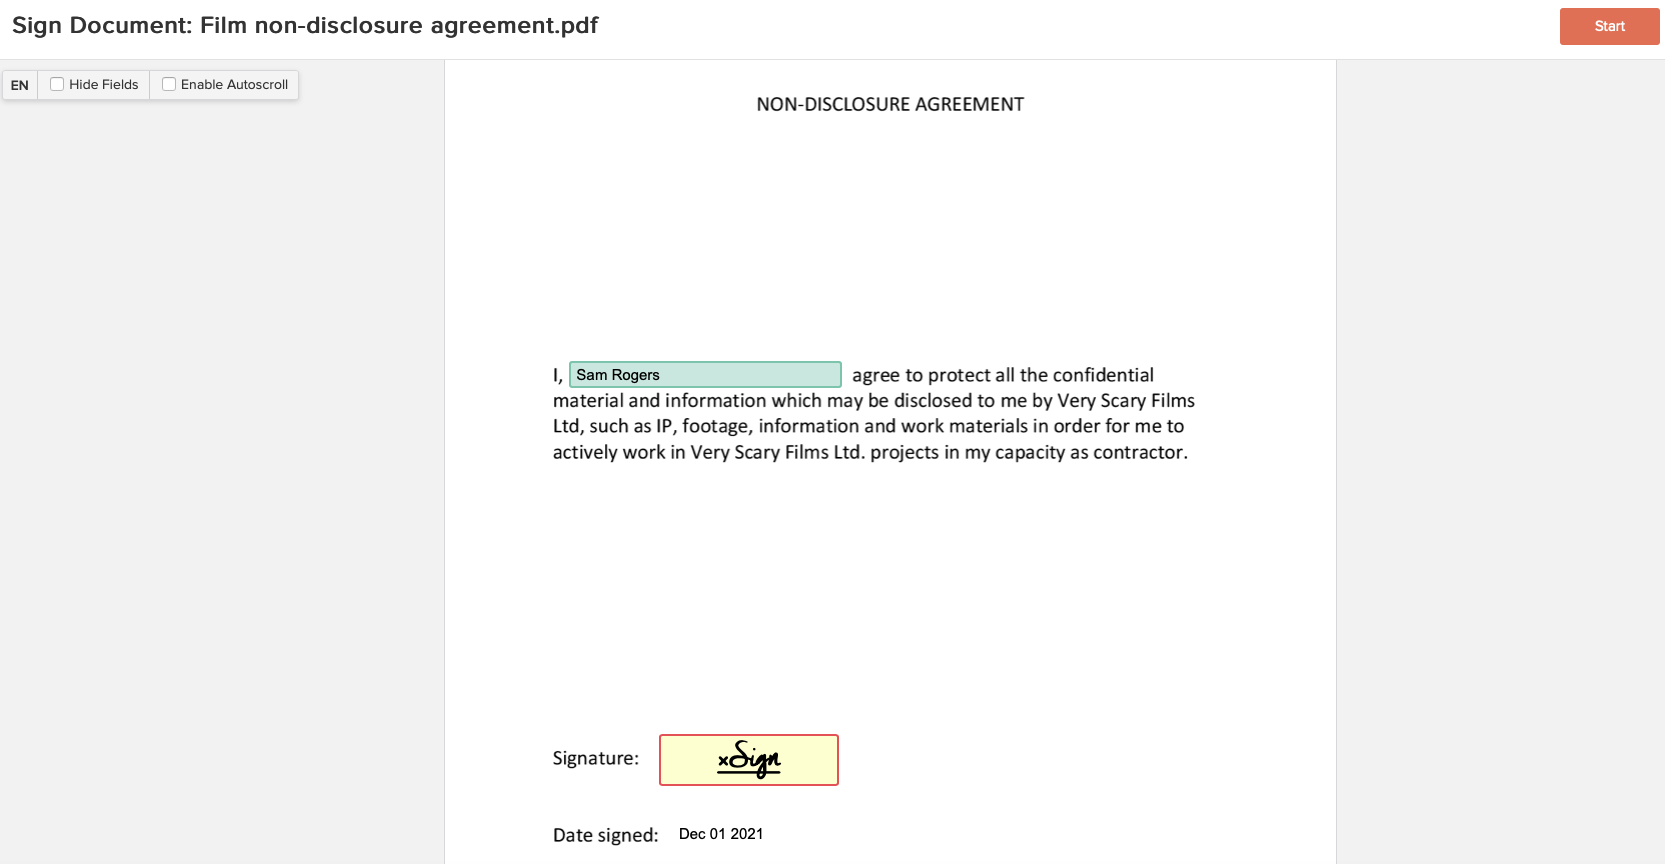
When you're done, click Send in the top right corner and that's it. The recipient will receive an email with a link to the document, which will look like in the screenshot below. As you can see, the name and date have already been filled in automatically and the recipient only needs to sign it.
We hope you found this tutorial helpful. If you have any questions about templates that are not addressed in this post, you can check our help center or contact our friendly customer service team.